

Create a Brain
1
Go to Brains from the top navigation
The left sidebar lists your Brains under My Brains and Shared with me.
2
Click + New brain
The button sits at the bottom of the left sidebar.
3
Name it and create
Give it a clear, descriptive name. Naming it after the engagement keeps it easy to find later, for example “Industrials Coverage (Schneider)” or “ACME Audit FY26”. Click Create Brain to finish.
4
Open your Brain
You’ll see its file table and, in the header, who owns it, when it was last updated, and whether it’s private or shared.
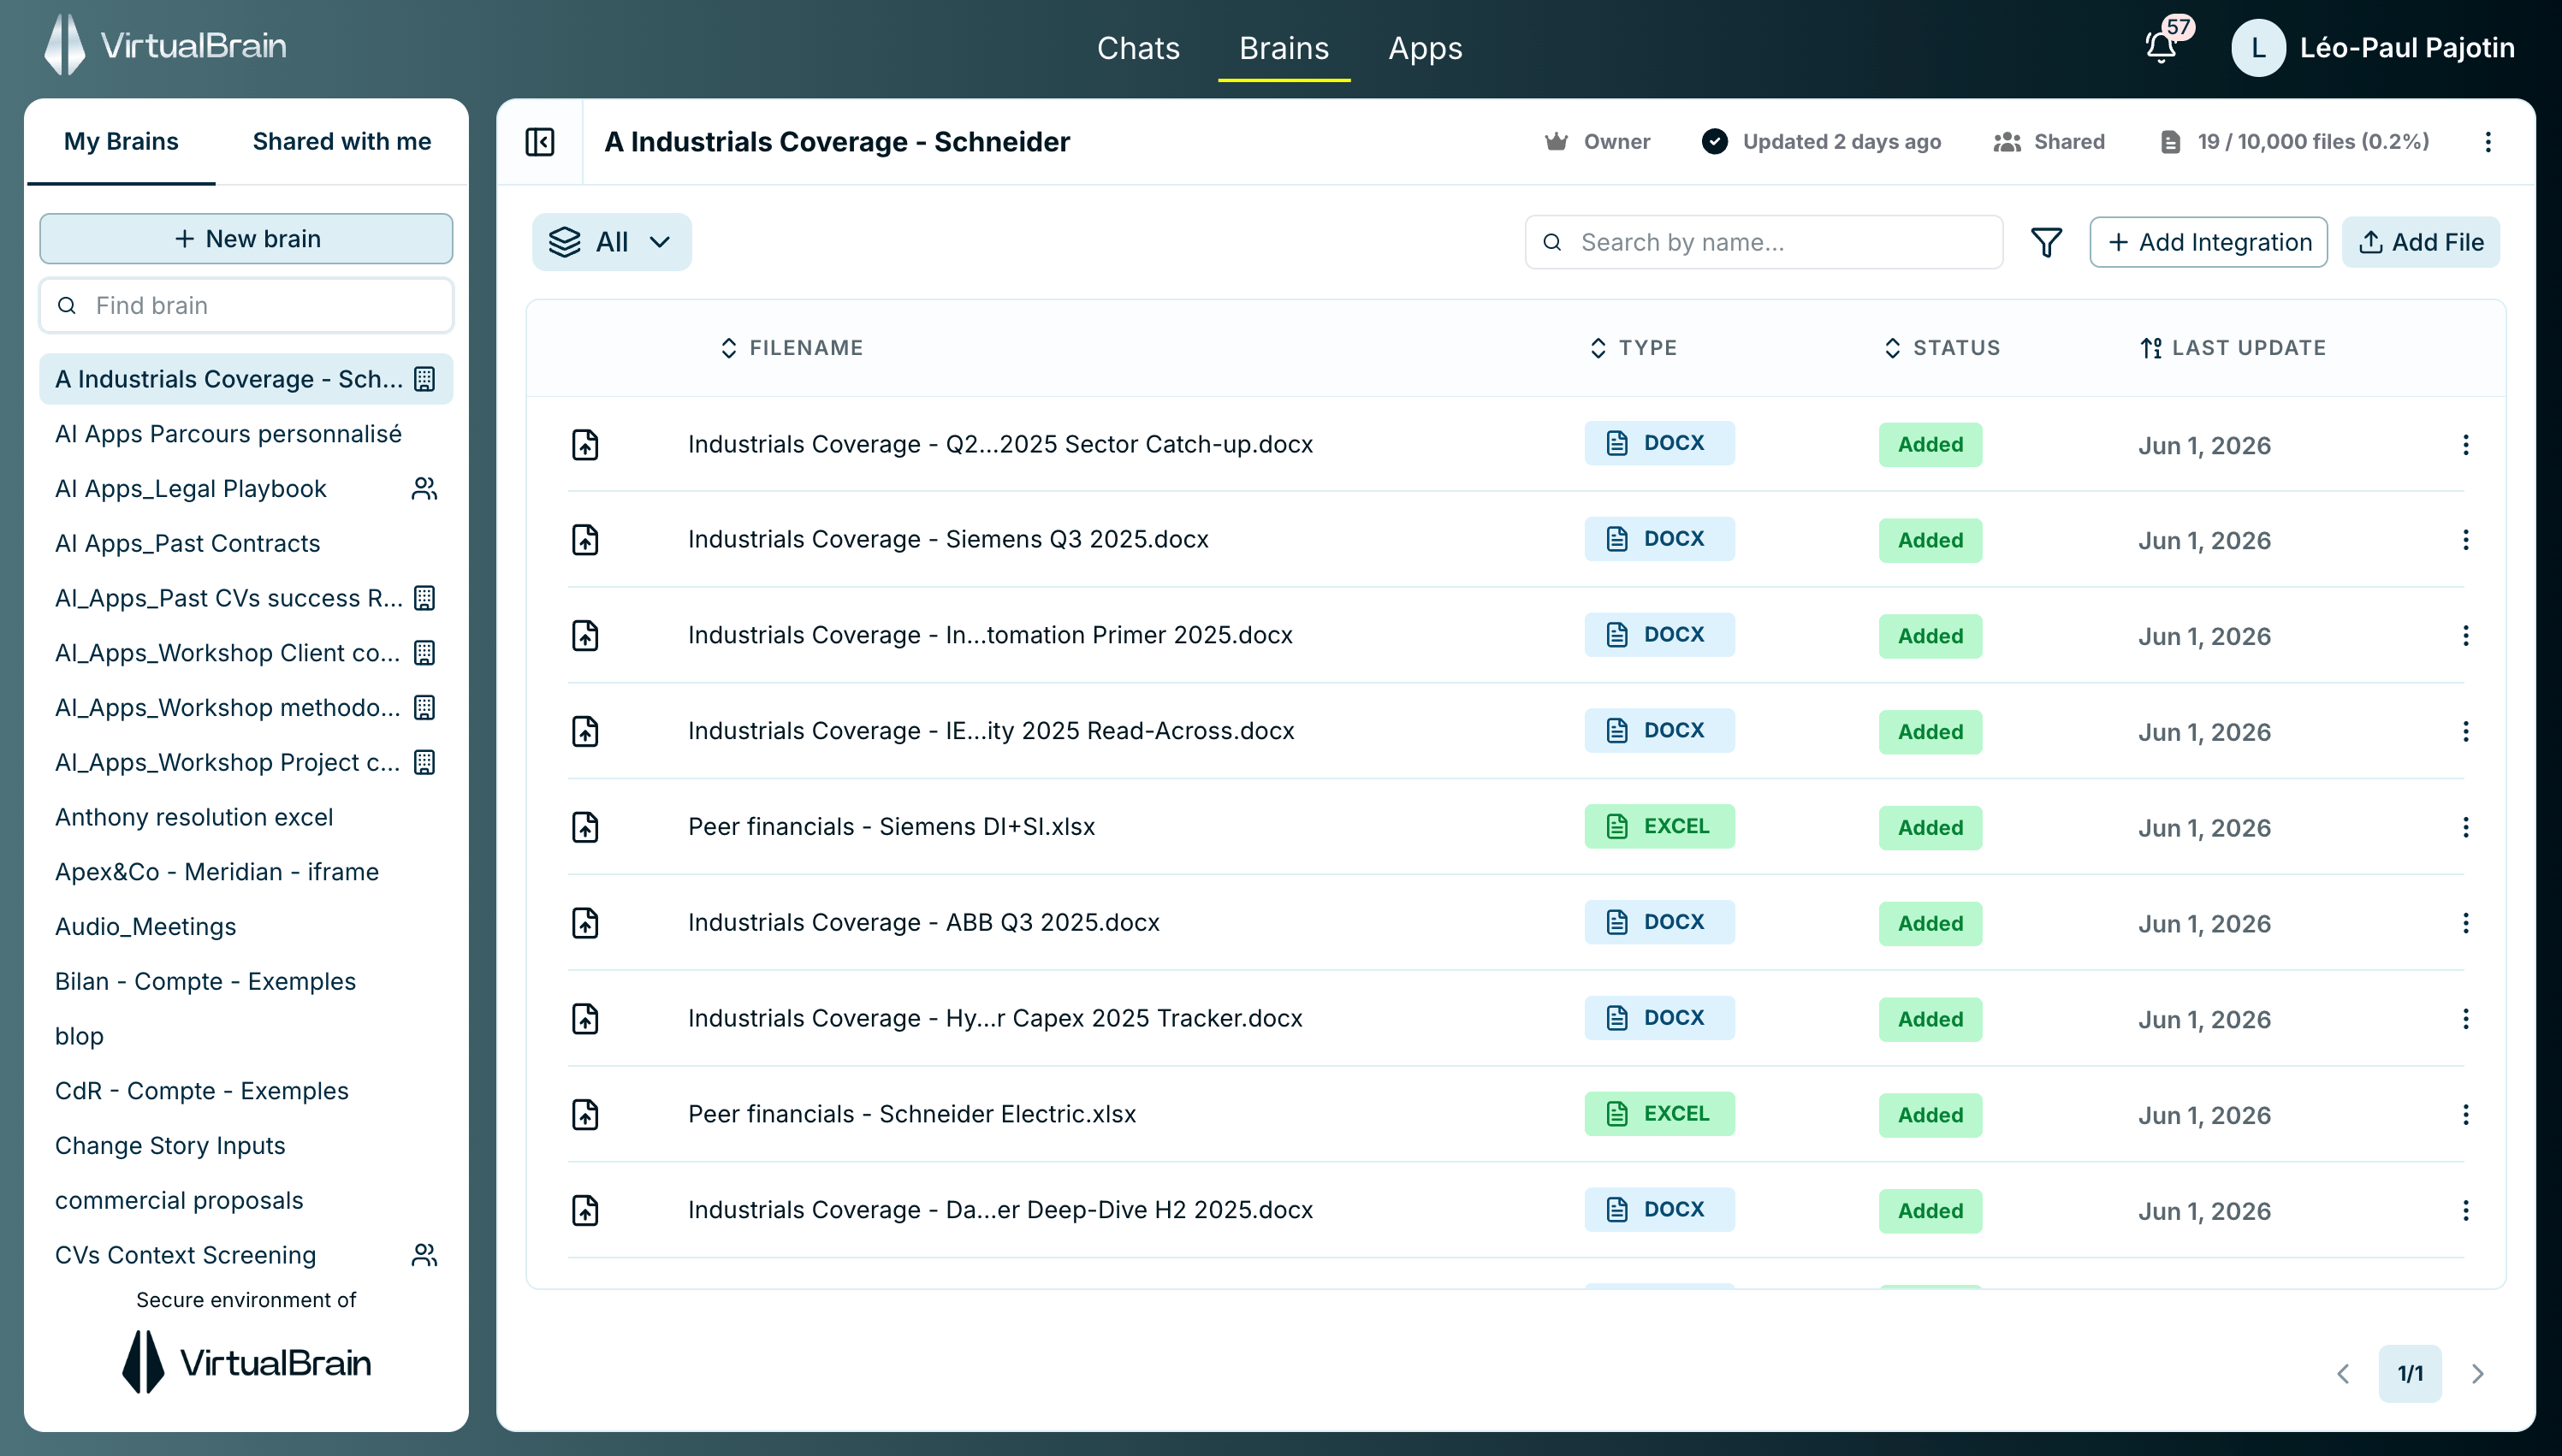
A Brain's contents, with file type, processing status, and last-updated date
Each Brain holds up to 10,000 files by default, and can be sized up on demand.
Four ways to add content
1. Upload from your computer
Click Add File to browse and select documents, or simply drag and drop them onto the Brain.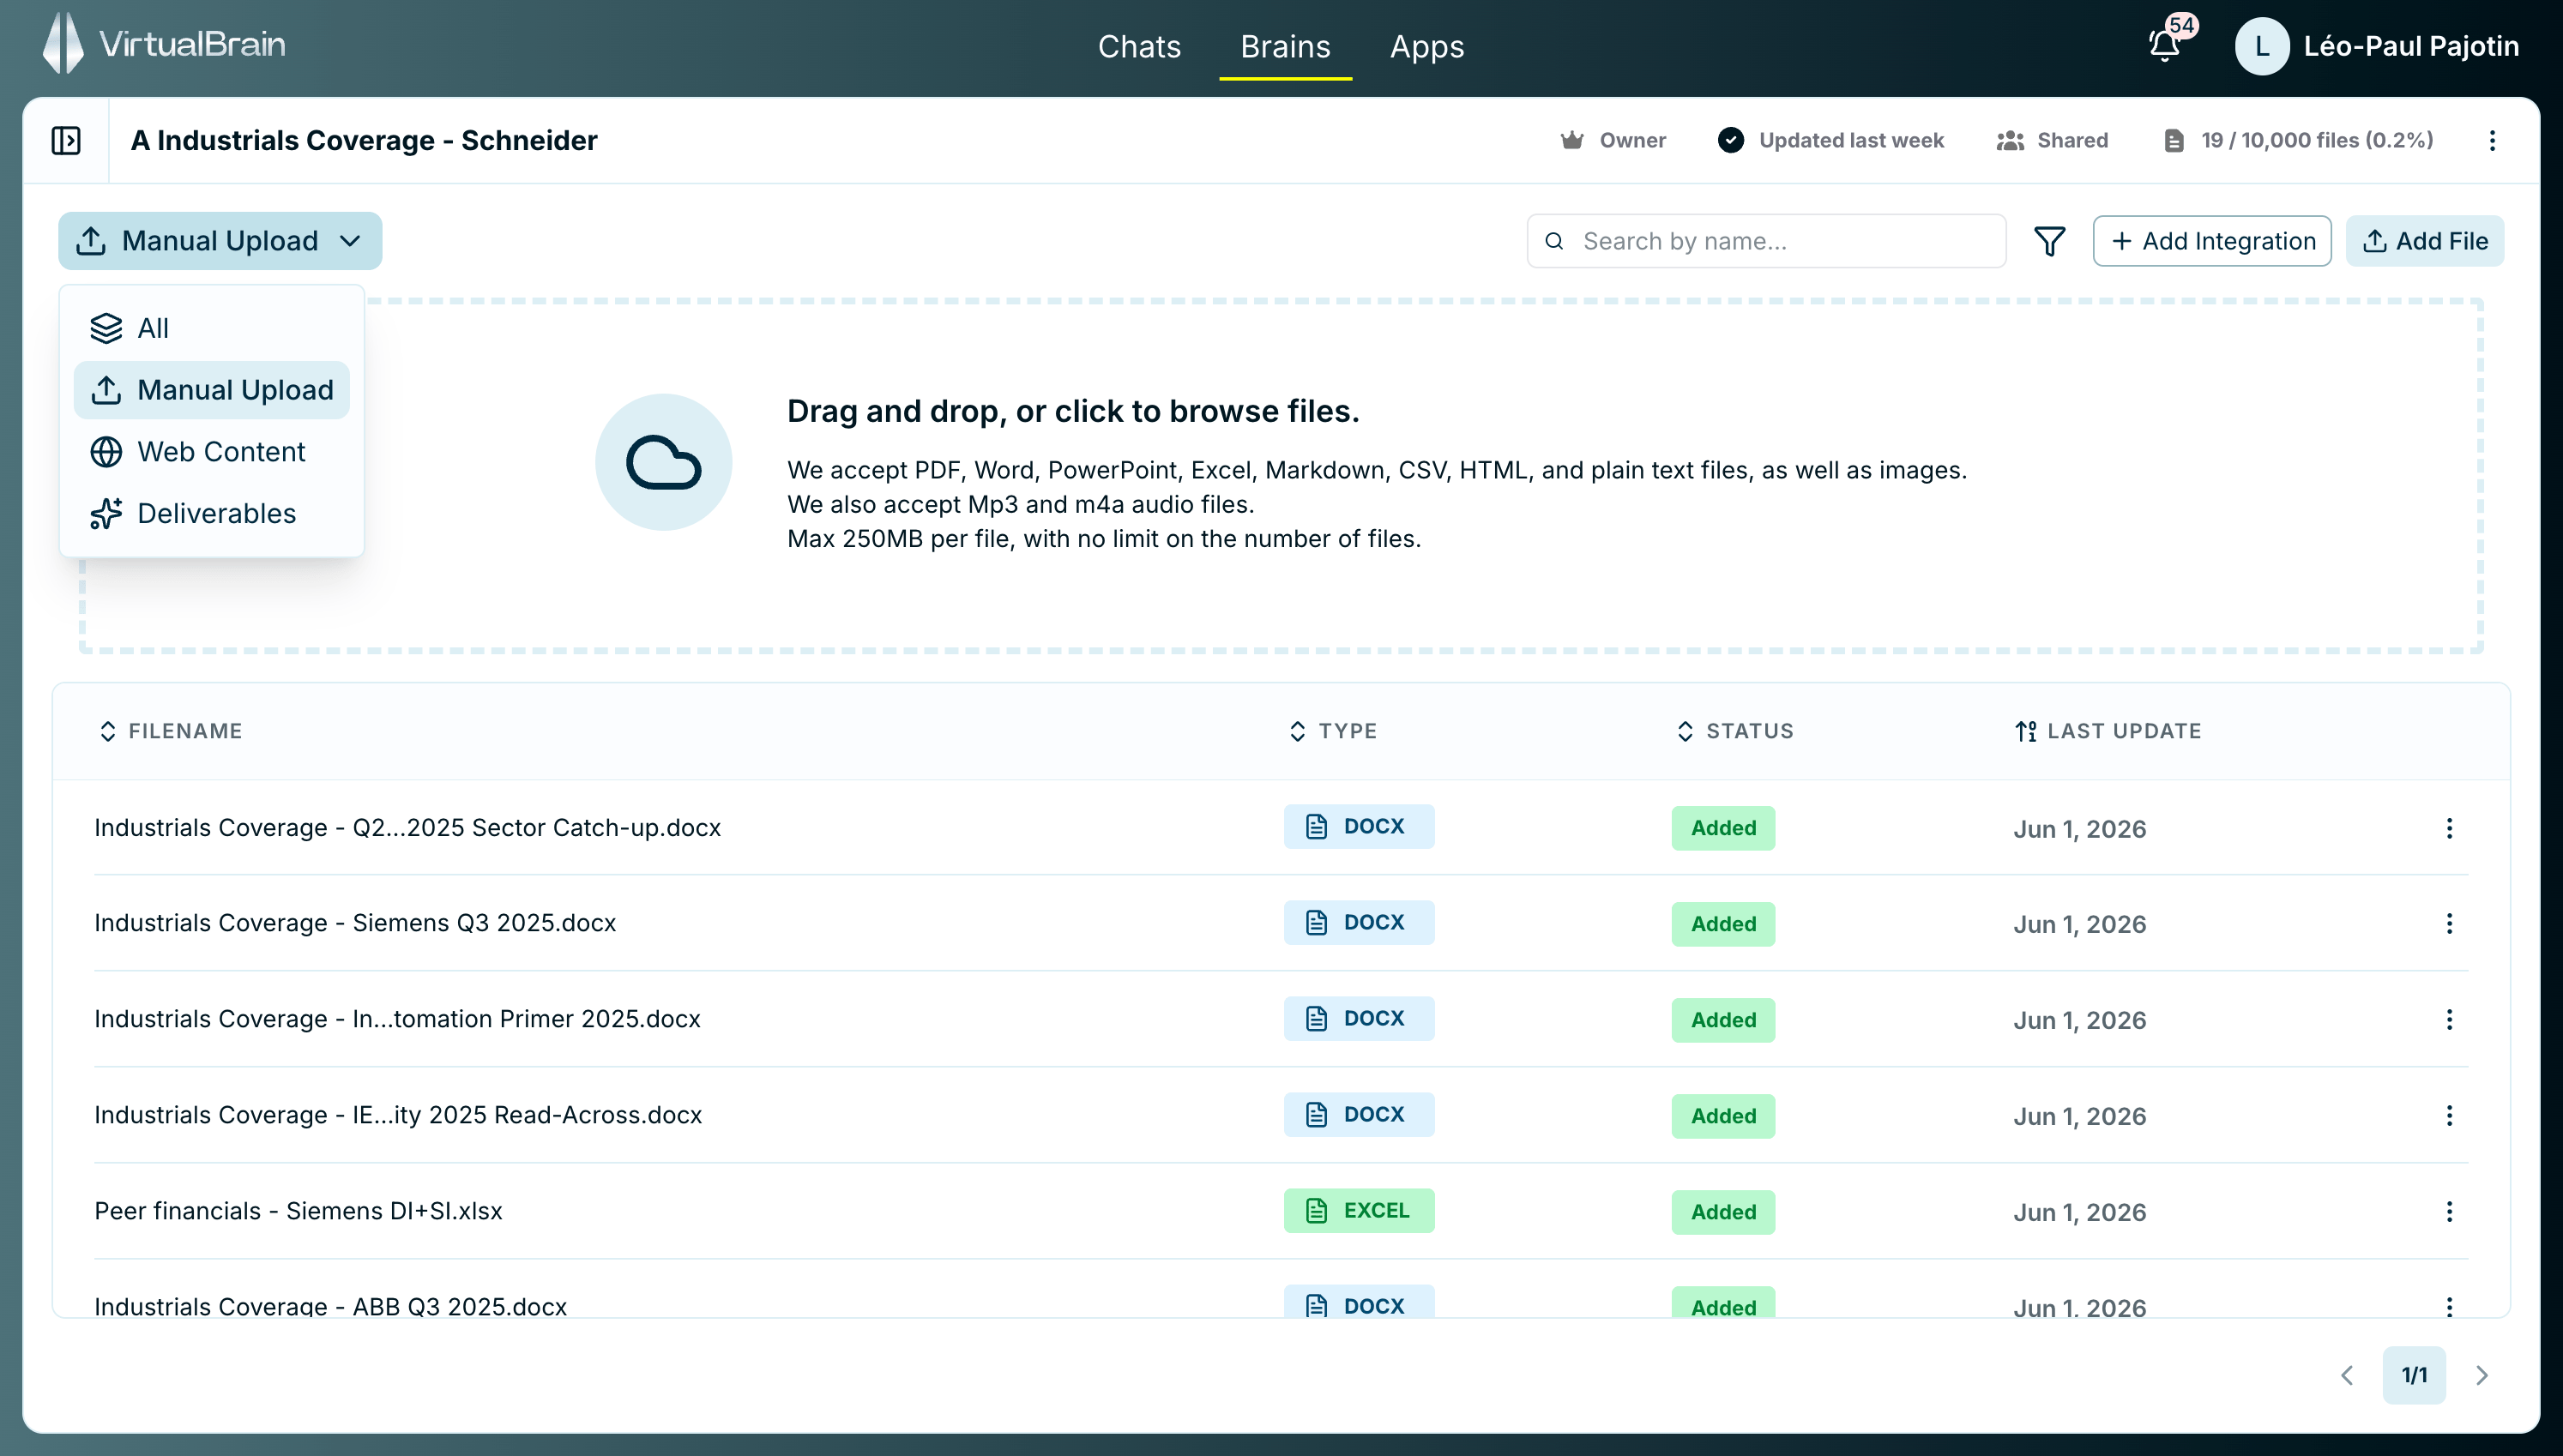
Add File lets you browse for documents or drag and drop them onto the Brain.
Supported formats: PDF, Word, PowerPoint, Excel, CSV, Markdown, HTML, plain text, images, audio (mp3, m4a), Outlook emails (.msg), and MP4 video. YouTube videos can be added by link through Web Content. Each file can be up to 250 MB.
2. Sync from cloud storage
Click Add Integration to pull documents straight from SharePoint, OneDrive, Google Drive, or Dropbox and keep them in sync. See Cloud Storage Connectors for the full setup and how re-syncing works.3. Capture from the web
Open the Web Content view and either paste a URL and click Load web content, or use the VirtualBrain browser extension. See Web Capture for both routes, including pages behind a login or paywall.4. Save deliverables back
When you produce a document, whether a memo from Chat or a finished output from an App, you can save it back into the Brain as a deliverable. It then sits alongside your source files, so the Brain becomes a living record of both the evidence and the work product built on it.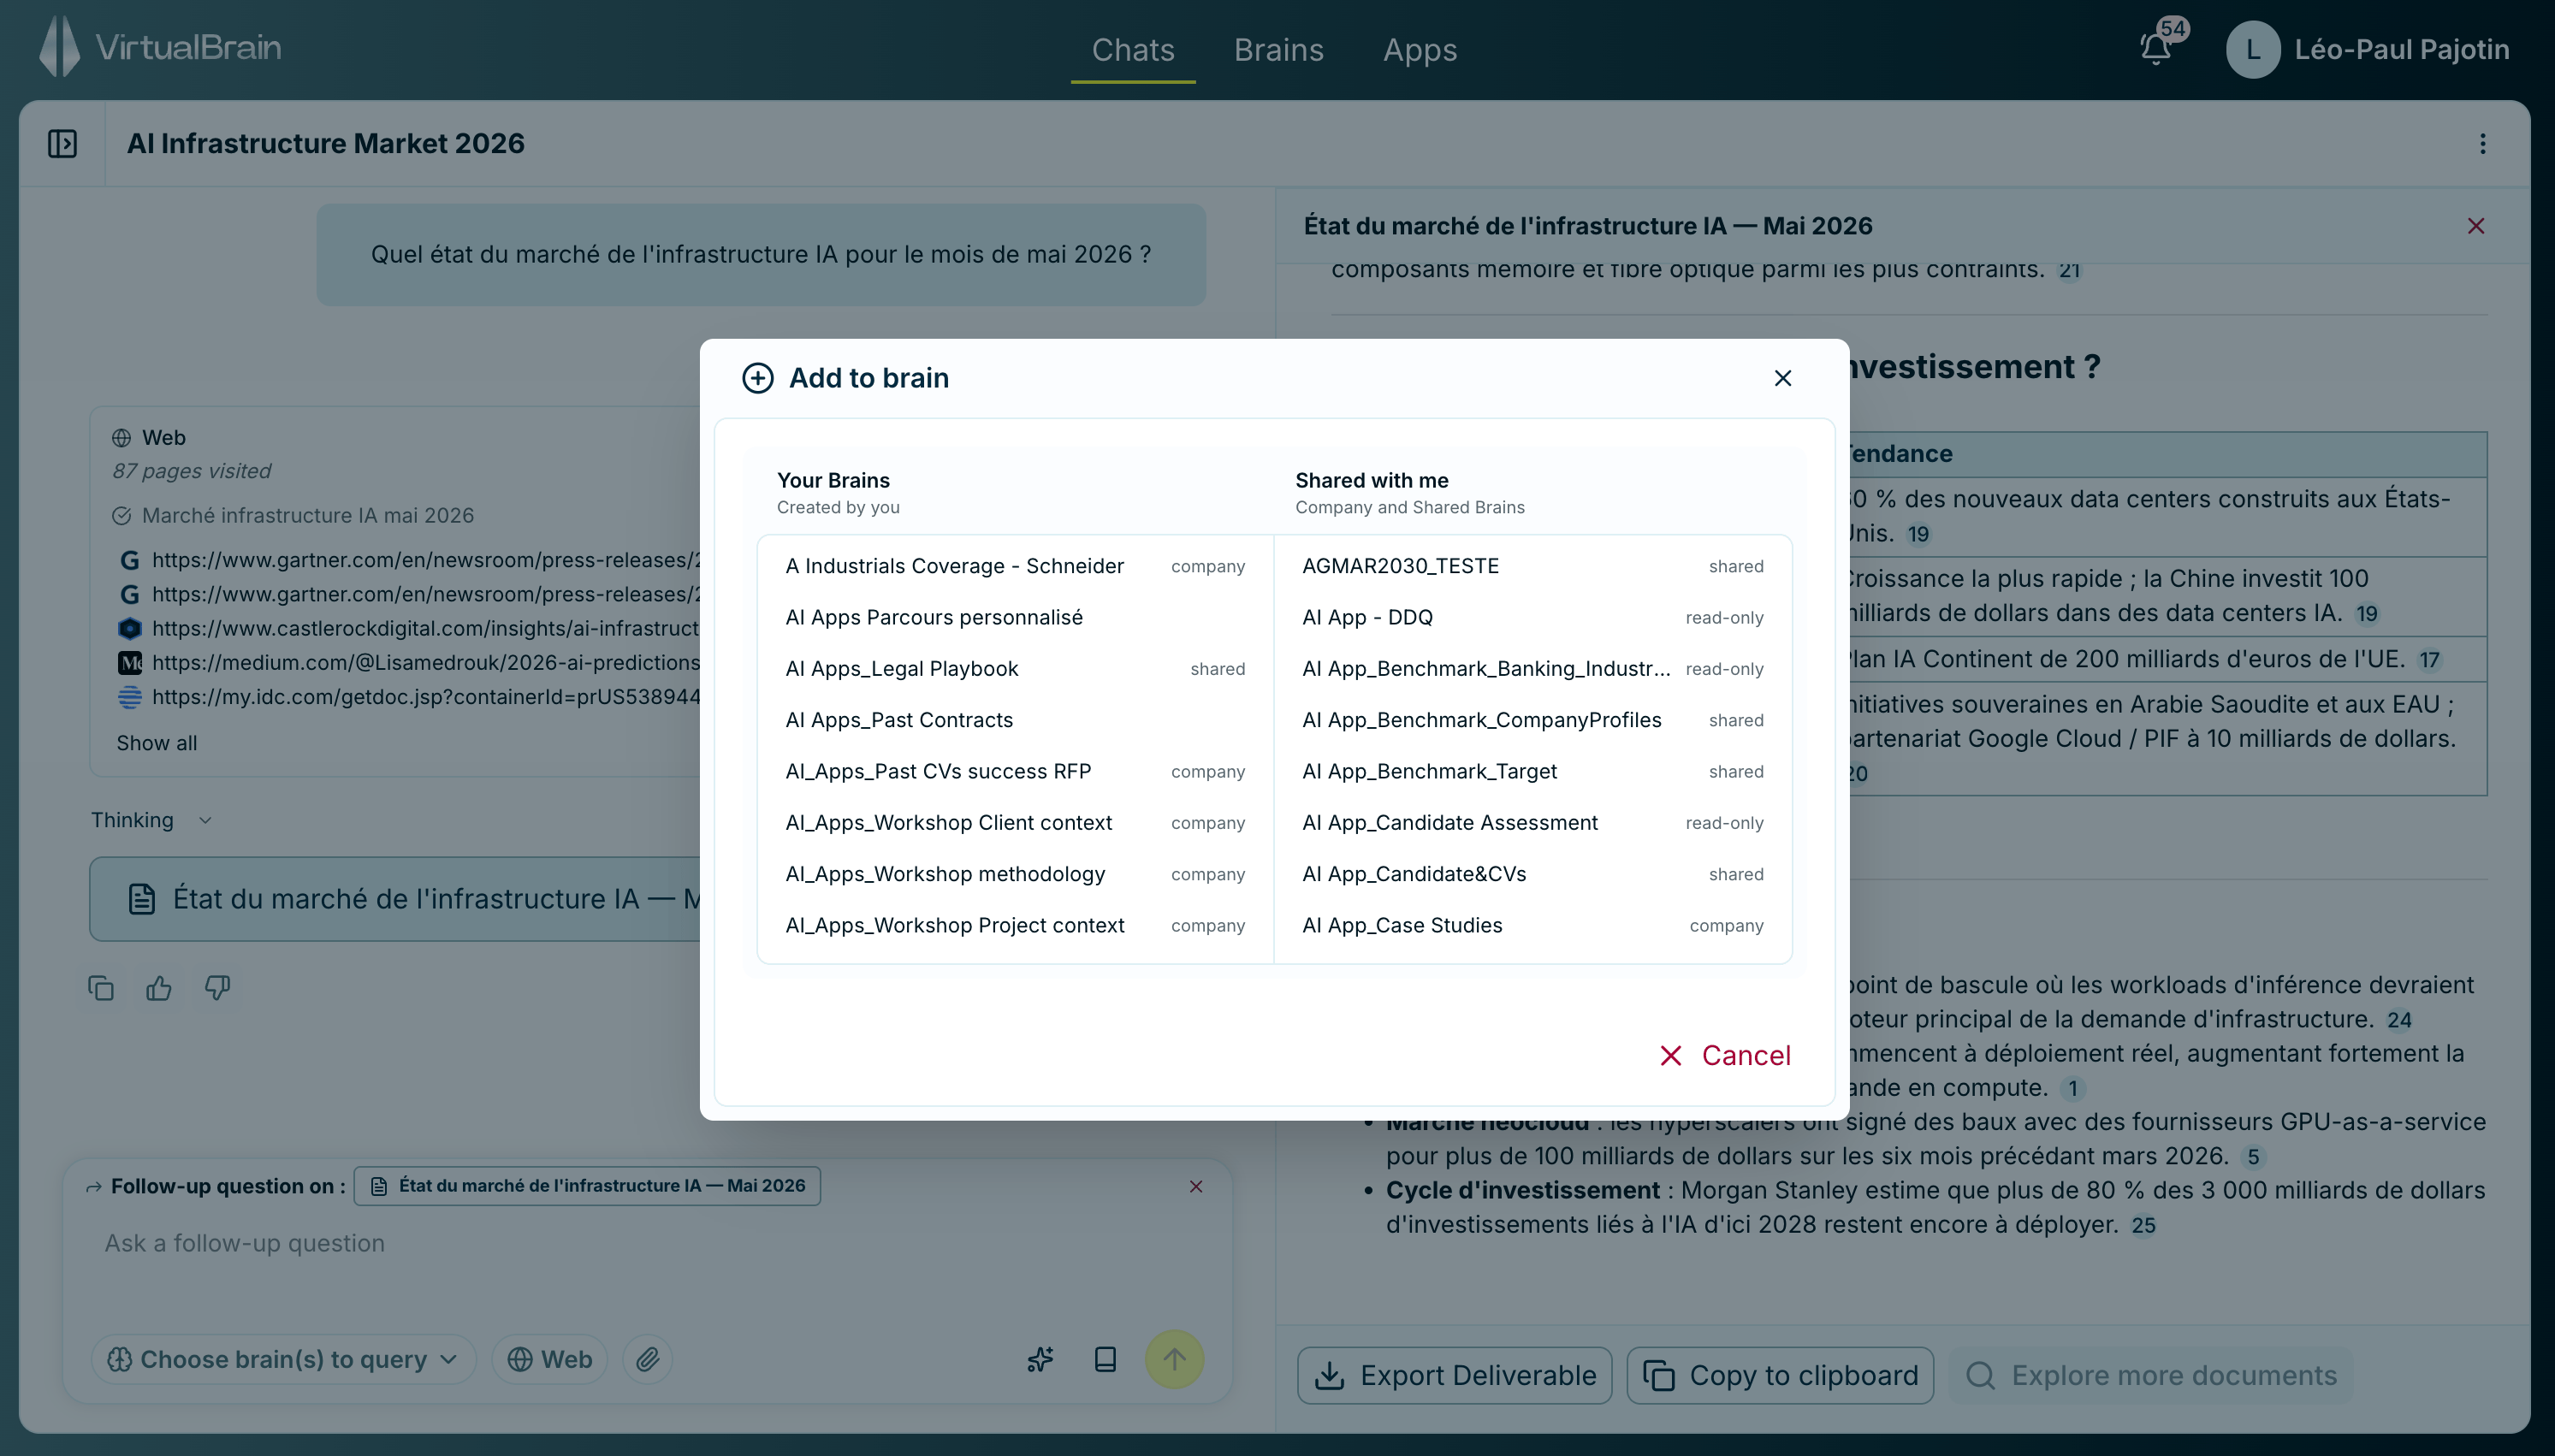
Saving a finished output back into the Brain as a deliverable.
Best practices
Keep each Brain scoped to one engagement, client, or topic, because mixing unrelated files dilutes answer quality. Add the documents you’ll actually cite, not everything you can reach. After adding content, the Status column and notifications bell confirm when files are processed and ready to query.Related
- Cloud Storage Connectors: sync SharePoint, OneDrive, Google Drive, or Dropbox
- Web Capture: add web pages and YouTube videos
- Organizing Documents: processing status, search, filters, and statistics